
Yesterday I shared a video called Kuwait Nights 1984 created by Faisal Alrajhi and instantly fell in love with it. He created the video using AI, so after sharing his post on my story I got in touch with him to see if he could share his process with my readers.
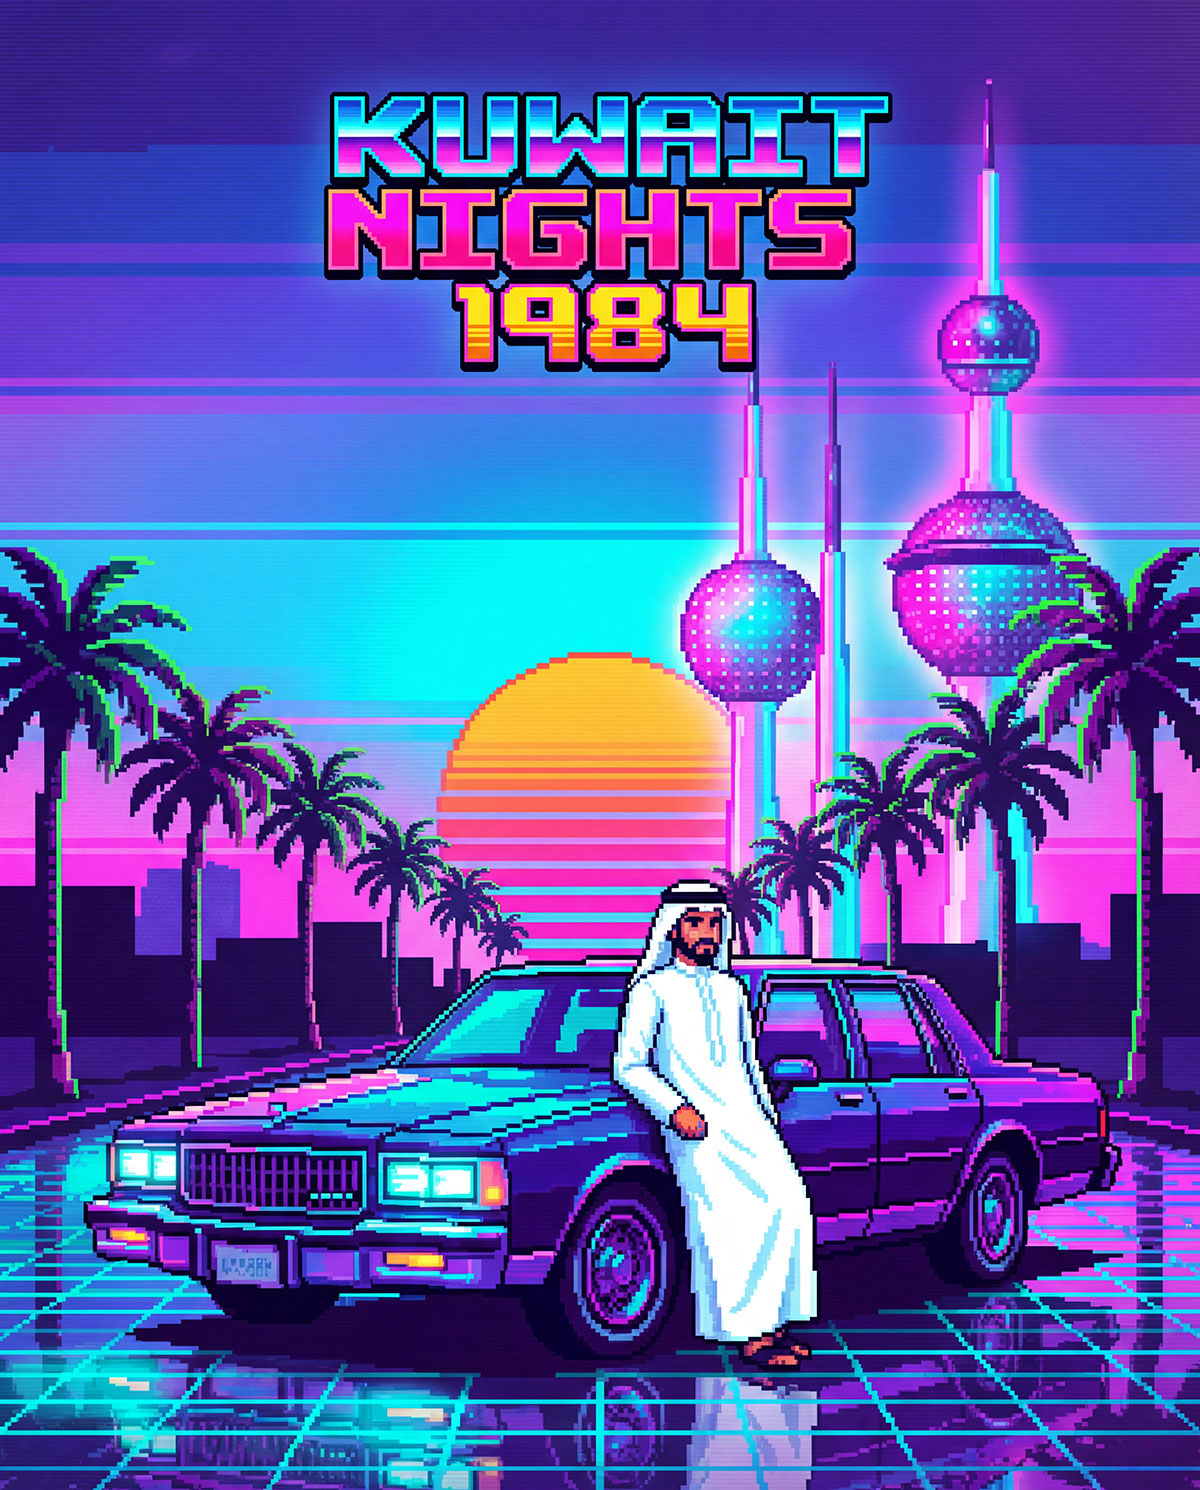
Due to the length of his project he couldn’t share the full breakdown, so instead we decided to focus on one of my favorite scenes, the Green Island sequence.
Step 1 – Creating the visuals
The first thing Faisal did was create a custom prompt on Google Gemini:
“Create an 8-bit pixel-art scene of Kuwaiti people relaxing, sitting on benches, and walking inside Gr…
Yesterday I shared a video called Kuwait Nights 1984 created by Faisal Alrajhi and instantly fell in love with it. He created the video using AI, so after sharing his post on my story I got in touch with him to see if he could share his process with my readers.
Due to the length of his project he couldn’t share the full breakdown, so instead we decided to focus on one of my favorite scenes, the Green Island sequence.
Step 1 – Creating the visuals
The first thing Faisal did was create a custom prompt on Google Gemini:
“Create an 8-bit pixel-art scene of Kuwaiti people relaxing, sitting on benches, and walking inside Green Island. Show the iconic tower in the background, kids running in the distance, and palm trees lining the walkways. Use retro warm tones and subtle pixel shading.”
For the pixel-art images, he used the Google Gemini app along with Freepik’s Nano Banana feature. Freepik gave him higher-resolution results, which made a big difference when putting everything together into a video. He also added reference photos he found on Google, like shots of Green Island, to help the AI recreate the scenes more accurately.
Once he had all the images generated, he did some light touch-ups in Photoshop to clean things up, fix small details, and remove anything the AI added that didn’t belong.
Step 2 – Converting stills to animation
Once he had a scene he liked, Faisal then animated the images using an image-to-video AI tool from Freepik.
Step 3 – Creating the soundtrack
For the music Faisal used the AI music generator Suno. He gave Suno 30 seconds of the original song he wanted to use then used the following prompt to convert it into an 8-bit video-game style soundtrack:
“A playful 8-bit track opens with bright, pulsating chiptune synths and a bouncy, syncopated square wave melody. Driving 8-bit percussion interlocks with rapid arpeggios, playful sound effects, and simple bass, keeping the energy high. Short bridge introduces quirky glitch textures.”
Step 4 – Combining the scenes
The final step was putting everything together, he used Final Cut Pro.
So in case you want to replicate this video style, just follow steps 1 and 2 over and over for the different scenes and then combine them using a video editor.
When I posted this on Instagram, someone people left comments hating on the fact AI was used to create this. I think there is a huge misconception or naivety on how difficult and even impossible it would be to create a video like this without AI. One follower left a comment saying that Faisal should have instead “learn how to do pixel art and write music” as if it’s something someone can do by watching a YouTube video and not requiring any talent. I think that comment is actually more insulting to artists than him using AI to create this video. But even if Faisal was a pixel artists, it wouldn’t necessarily also mean he would know how to animate or compose music. Even if he did, the process of creating something like this would have taken months. Hiring a team to create a video like this especially when it’s something just for fun is also not realistic or feasible. AI has its issues, but in this instance it’s allowed someone to create something that wouldn’t be possible without the use of AI.
Make sure to check out Faisal’s Instagram account, he posts a lot of cool tech videos and they’re always informative. @f_alrajhii