Angular is a cohesive, all-in-one reactive framework for web development. It is one of the larger reactive frameworks, focused on being a single architectural system that handles all your web development needs under one idiom. While Angular was long criticized for being heavyweight as compared to React, many of those issues were addressed in Angular 19. Modern Angular is built around the Signals API and…
Angular is a cohesive, all-in-one reactive framework for web development. It is one of the larger reactive frameworks, focused on being a single architectural system that handles all your web development needs under one idiom. While Angular was long criticized for being heavyweight as compared to React, many of those issues were addressed in Angular 19. Modern Angular is built around the Signals API and minimal formality, while still delivering a one-stop-shop that includes dependency injection and integrated routing.
Angular is popular with the enterprise because of its stable, curated nature, but it is becoming more attractive to the wider developer community thanks to its more community engaged development philosophy. That, along with its recent technical evolution, make Angular one of the most interesting projects to watch right now.
Why choose Angular?
Choosing a JavaScript development framework sometimes feels like a philosophical debate, but it should be a practical decision. Angular is unique because it is strongly opinionated. It doesn’t just give you a view layer; it provides a complete toolkit for building web applications.
Like other reactive frameworks, Angular is built around its reactive engine, which lets you bind state (variables) to the view. But if that’s all you needed, one of the smaller, more focused frameworks would be more than enough. What Angular has that some of these other frameworks don’t is its ability to use data binding to automatically synchronize data from your user interface (UI) with your JavaScript objects. Angular also leverages dependency injection and inversion of control to help structure your application and make it easier to test. And it contains more advanced features like server-side rendering (SSR) and static-site generation (SSG) within itself, rather than requiring you to engage a meta-framework for either style of development.
While Angular might not be your top choice for every occasion, it’s an excellent option for larger projects that require features you won’t get with a more lightweight framework.
Also see: Catching up with Angular 19.
Getting started with Angular
With those concepts in mind, let’s set up Angular in your development environment. After that, we can run through developing a web application with Angular. To start, make sure you have Node and NPM installed. From the command line, enter:
$ node -v
$ npm -v
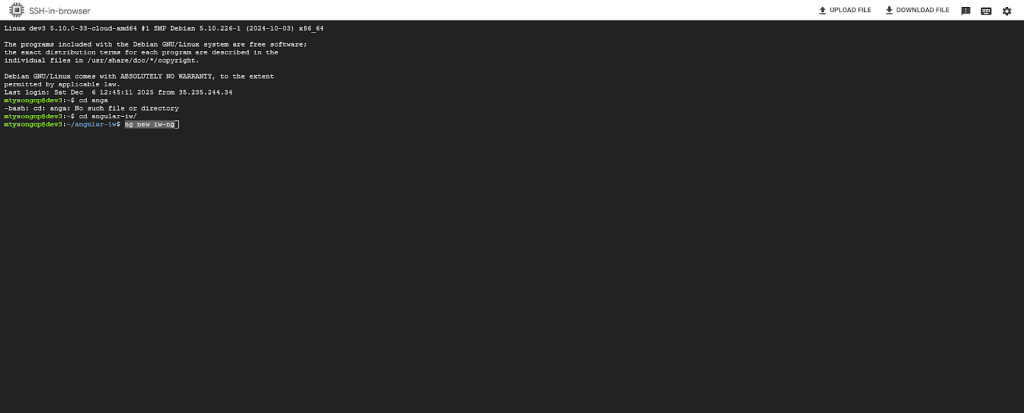
Next, you can use the Angular CLI to launch a new app:
$ ng new iw-ng
You can use the defaults in your responses to the interactive prompts shown here:
Matthew Tyson
We now have a basic project layout in the new directory, which you can import into an IDE (such as VS Code) or edit directly.
Looking at the project layout, you might notice it is fairly lean, a break from Angular projects of the past. The most important parts are:
src/main.ts: This is the main entry point. In older versions of Angular, this file had to bootstrap a module, which then bootstrapped a component. Now, it avoids any verbose syntax, calling bootstrapApplication with your root component directly.src/index.html: The main HTML page that hosts your application. This is the standard index.html that serves all root requests in a web page and contains the <app-root> tag where your Angular component will render. It is the “body” that the “spirit” of your code animates.src/app/app.ts: The root component of your application. This single file defines the view logic and the component metadata. In the new “standalone” world, it manages its own imports, meaning you can see exactly what dependencies it uses right at the top of the file. (This is the<app-root>root element that appears insrc/index.html.)src/app/app.config.ts: This file is new in modern Angular and replaces the old AppModule providersarray. It is where you configure global services, like the router or HTTP client.angular.json: The configuration file for the CLI itself. It tells the build tools how to process your code, though you will rarely need to touch this file manually anymore.
Here is the basic flow of how the engine renders these components:
- The arrival (HTML): The browser receives
index.html. The<app-root>tag is there, but it’s empty. - The unpacking (JavaScript): The browser sees the
<script>tags at the bottom of the HTML and downloads the JavaScript bundles (your compiled code) fromsrc/app/app.ts. - The assembly (Bootstrap): The browser runs that JavaScript. The code “wakes up,” finds the
<app-root>tag in the DOM, and dynamically inserts your title, buttons, and lists.
This flow will be different if you are using server-side rendering (SSR), but we’ll leave that option aside for now. Now that you’ve seen the basic architecture, let’s get into the code.
Developing your first web app in Angular
If you open src/app/app.ts (more info here) the component definition looks like this:
import { Component, signal } from '@angular/core';
import { RouterOutlet } from '@angular/router';

@Component({
selector: 'app-root',
imports: [RouterOutlet],
templateUrl: './app.html',
styleUrl: './app.css'
})
export class App {
protected readonly title = signal('iw-ng');
}
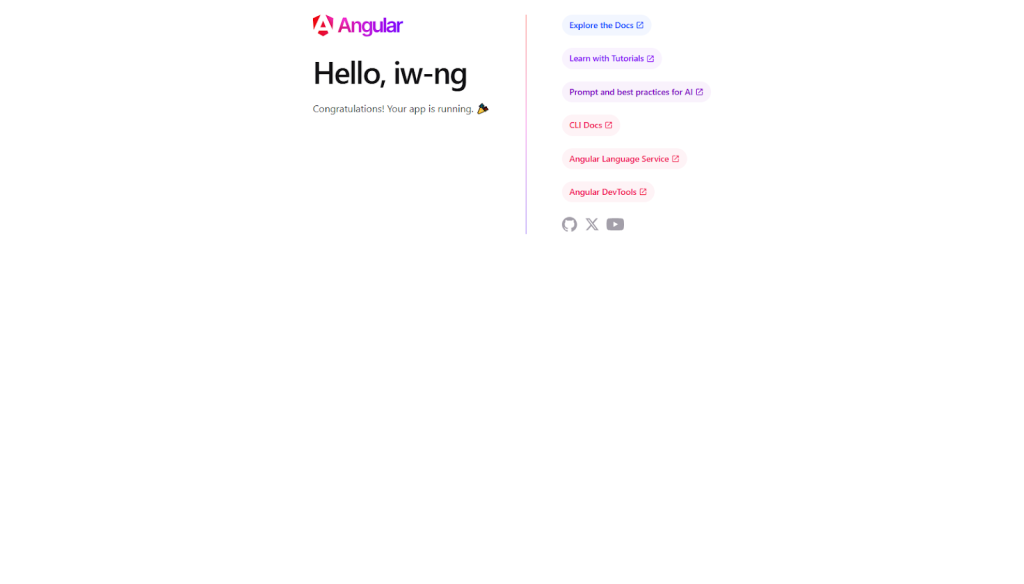
Before we dissect the code, let’s run the app and see what it produces:
$ ng serve
You should see a page like this one at localhost:4200:
Matthew Tyson
Returning to the src/app.ts component, notice that there are three main parts of the definition: the class, the metadata, and the view. Let’s unpack these separately.
The class (export class App)
Export class App is vanilla TypeScript that holds your component’s data and logic. In our example, title = signal(‘iw-ng’) defines a piece of reactive state. Unlike older versions of Angular where data was just a plain property, here we use a signal. Signals are wrappers around values that notify the template precisely when they change, enabling fine-grained performance.
The metadata (@Component)
The @Component decorator tells Angular it is dealing with a component, not just a generic class. There are several elements involved in the decorator’s communication with the engine:
selector: 'app-root': Defines the custom HTML tag associated with any given component. Angular finds<app-root>in yourindex.htmland renders the component there.imports: In the new Angular era, dependencies are explicit. You list exactly what a component needs (likeRouterOutletor other components) here, rather than hiding them in a separate module file.templateUrl: Points to the external HTML file that defines the view.
The view (the template)
This is the visual part of the component, defined in app.html. It combines standard HTML with Angular’s template syntax. (JSX handles this part for React-based apps.)
We can modify src/app/app.html to see how these three elements work together. To start, delete the default content and add the following:
<h1>Hello, {{ title() }}</h1>
<router-outlet />
The double curly braces {{ }} are called interpolation. Notice the parentheses in title(). We are reading the “title” signal value by calling its function. If you were to update that signal programmatically (e.g., this.title.set('New Value')), the text on the screen would update instantly.
Angular’s built-in control flow
Old-school Angular required “structural directives” like *ngIf and *ngFor logic control. These were powerful but required importing CommonModule and learning a specific micro-syntax. Modern Angular uses a built-in control flow that looks like standard JavaScript (similar to other Reactive platforms).
To see the new control flow in action, let’s add a list to our component. Update src/app/app.ts as follows, leaving the rest of the file the same:
export class App {
protected readonly title = signal('iw-ng');
protected readonly frameworks = signal(['Angular', 'React', 'Vue', 'Svelte']);
protected showList = signal(true);

toggleList() {
this.showList.update(v => !v);
}
}
While we’re at it, let’s also update src/app/app.html to render this new list (don’t worry about <router-outlet> for now; it just tells Angular where to render the framing template):
<button (click)="toggleList()">Toggle List</button>

@if (showList()) {
<ul>
@for (tech of frameworks(); track tech) {
<li>{{ tech }}</li>
}
</ul>
} @else {
<p>List is hidden</p>
}

<router-outlet />
The app will now display a list that can be toggled for visibility:

Matthew Tyson
This syntax is cleaner and easier to read than the old *ngFor loops:
@ifconditionally renders the block if the signal’s value is true.@foriterates over the array. The track keyword is required for performance (it tells Angular how to identify unique items in the list).(click)is an event binding. It lets us run code (thetoggleListmethod) when the user interacts with the button.
Services: Managing business logic in Angular
Components focus on the view (i.e., what you see). For the business logic that backs the application functionality, we use services.
A service is just a class that can be “injected” into a component that needs it. This is Angular’s famous dependency injection system. It allows you to write logic once and reuse it anywhere. It’s a slightly different way of thinking about how an application is wired together, but it gives you real organizational benefits over time.
To generate a service, you can use the CLI:
$ ng generate service frameworks
This command creates a src/app/hero.ts file. In modern Angular, we define services using the @Injectable decorator. Currently, the src/app/hero.ts file just has this:
import { Injectable } from '@angular/core';

@Injectable({
providedIn: 'root',
})
export class Frameworks {

}
Open the file and add a simple method to return our data:
import { Injectable } from '@angular/core';

@Injectable({
providedIn: 'root', // Available everywhere in the app
})
export class Frameworks {
getList() {
return ['Angular', 'React', 'Vue', 'Svelte'];
}
}
The providedIn: 'root' metadata is important, it tells Angular to create a single, shared instance of this service for the entire application (you might recognize this as an instance of the singleton pattern).
Using the service
In the past, we had to list dependencies in the constructor. Modern Angular offers a cleaner way: the inject() function. Subsequently, we can refactor our src/app/app.ts to get its data from the service instead of hardcoding it:
import { Component, inject, signal } from '@angular/core';
import { RouterOutlet } from '@angular/router';
import { Frameworks } from './frameworks'; // Import the service

@Component({
selector: 'app-root',
imports: [RouterOutlet],
templateUrl: './app.html',
styleUrl: './app.css'
})
export class App {
private frameworksService = inject(Frameworks); // Dependency Injection

protected readonly title = signal('iw-ng');

// Initialize signal with data directly from the service
protected readonly frameworks = signal(this.frameworksService.getList());
protected showList = signal(true);

toggleList() {
this.showList.update(v => !v);
}
}
Dependency injection is a powerful pattern. The component doesn’t need to know where the list came from (it could be coming from an API, a database, or a hard-coded array); it just asks the service for what it needs. This pattern adds a bit of extra work up front, but it delivers a more flexible, organized codebase as the app grows in size and complexity.
Routers and routes
Once your application grows beyond a single view, you need a way to navigate between different screens. In Angular, we use the built-in router for this purpose. In our example project, src/app/app.routes.tsis the dedicated home for the router config. Let’s follow the steps for creating a new route.
First, we define the route. When you open src/app/app.routes.ts, you will see an exported routes array. This array contains the available routes for your app. Each string name resolves to a component that handles rendering that route. In effect, this is the map of your application’s landscape.
In a real application, you’d often have “framing template” material in the root of the app (like the navbar) and then the routes fill in the body content. (Remember that by default, Angular is designed for single-page apps, where navigation does reload the screen, but swaps content.)
For now, let’s just get a sense of how the router works. First, create a new component so we have a destination to travel to. In your terminal, run:
$ ng generate component details
This will generate a simple details component in the src/app/details directory.
Now we can update src/app/app.routes.ts to include this new path. We will also add a “default” path that redirects empty requests to the home view, ensuring the user always lands somewhere:
import { Routes } from '@angular/router';
import { App } from './app'; // Matches src/app/app.ts
import { Details } from './details/details'; // Matches src/app/details/details.ts

export const routes: Routes = [
{ path: '', redirectTo: '/home', pathMatch: 'full' },
{ path: 'home', component: App },
{ path: 'details', component: Details },
];
Now if you visit localhost:4200/home, you’ll get the message from the details component: “Details works!”
Next, we’ll use the routerLink directive to move between views without refreshing the page. In src/app/app.html, we create a navigation bar that sits permanently at the top of the page (the “stationary” element), while the router swaps the content below it (the “impermanent” element):
<nav>
<a routerLink="/home">Home</a> |
<a routerLink="/details">Details</a>
</nav>

<hr>

<router-outlet />
And with that, the application has a navigation flow. The user clicks, the URL updates, and the content transforms, all without the jarring flicker of a browser reload.
Parametrized routes
The last thing we’ll look at is handling route parameters, where the route accepts variables in the path. To manage this kind of dynamic data, you define a route with a variable, marked by a colon. Open src/app/app.routes.ts and add a dynamic path:
export const routes: Routes = [
// ... existing routes
{ path: 'details/:id', component: Details },
];
The :id is a placeholder. Whether the URL is /details/42 or /details/108, this router will receive it because it matches the path. Inside the details component, we have access to this parameter (using the ActivatedRoute service or the new withComponentInputBinding). We can use that value to retrieve the data we need (like using it to recover a detail item from a database).
Conclusion
We have seen the core elements of modern Angular: Setting up the environment, building reactive components with signals, organizing logic with services, and tying it all together with interactive routing.
Deploying these pieces together is the basic work in Angular. Once you get comfortable with it, you have an extremely powerful platform at your fingertips. And, when you are ready to go deeper, there is a whole lot more to explore in Angular, including:
- State management: Beyond signals, Angular has support for managing complex, application-wide state.
- Forms: Angular has a robust system for handling user input.
- Signals: We only scratched the surface of signals here. Signals offer a powerful, fine-grained way to manage state changes.
- Build: You can learn more about producing production builds.
- RxJS: Takes reactive programming to the next level.