Figma’s png export defaults are too heavy
This website is heavy. It’s a personal portfolio of my work and shows big images because I want to show off a lot of detail in each piece. Over the years it’s added up and some of the pages are not as fast as they should be. We’re talking 100+ images that add up to well over 50MB total. It’s not the end of the world, but it isn’t great.
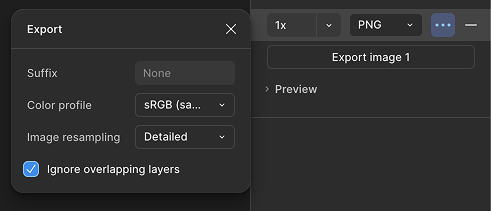
Part of the problem is that when you export images from Figma (my main design tool), the PNG compression that they use by default is not great. They give you two options pretty weak:
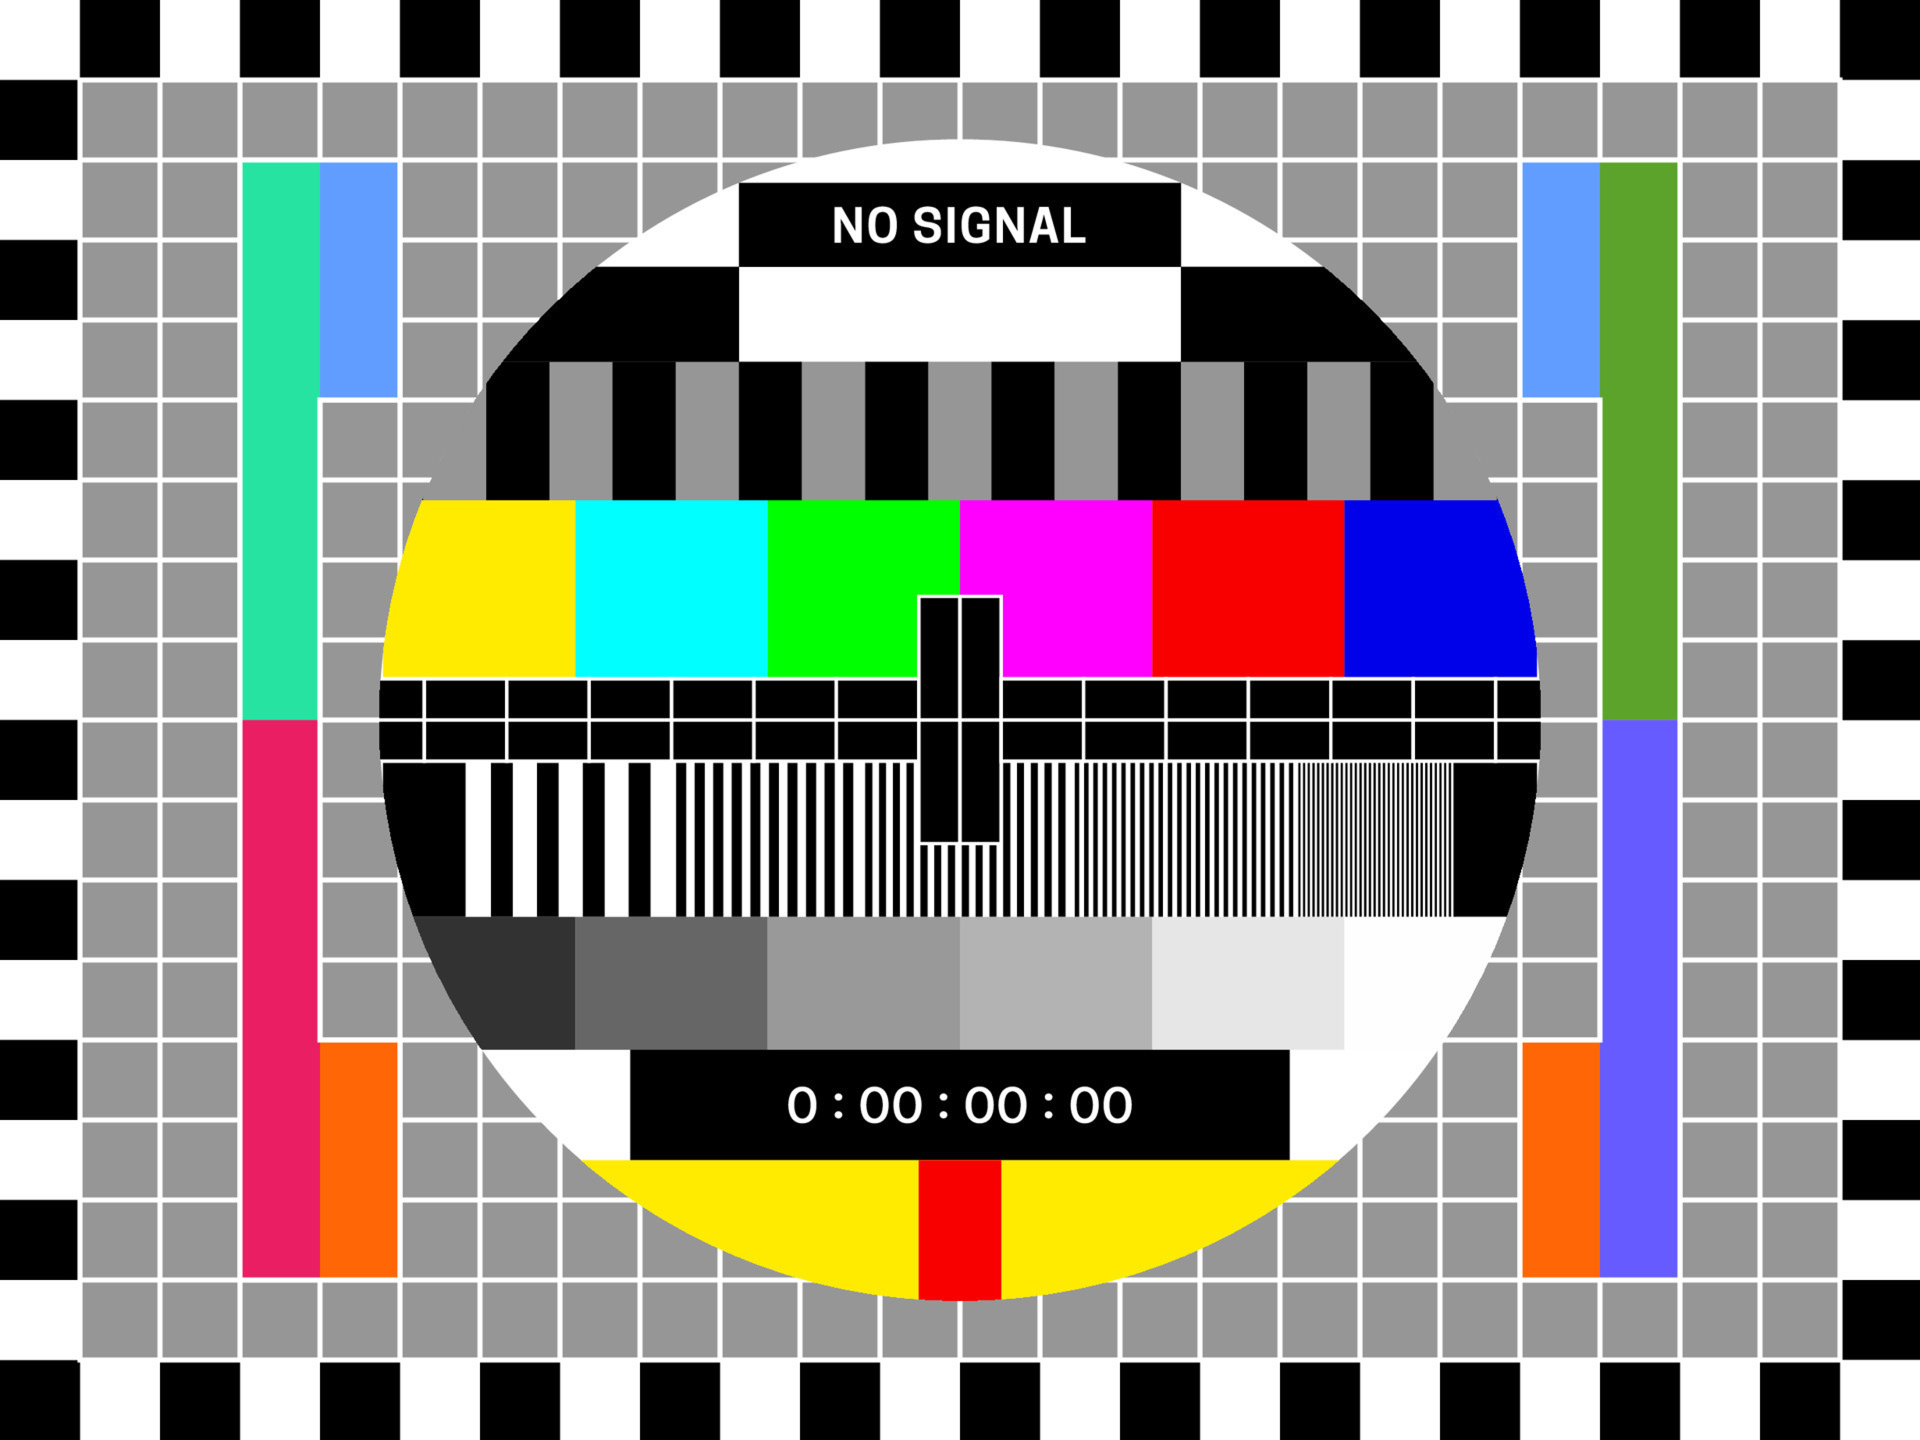
Exported from Figma using ‘Detailed’ - 2…
Figma’s png export defaults are too heavy
This website is heavy. It’s a personal portfolio of my work and shows big images because I want to show off a lot of detail in each piece. Over the years it’s added up and some of the pages are not as fast as they should be. We’re talking 100+ images that add up to well over 50MB total. It’s not the end of the world, but it isn’t great.
Part of the problem is that when you export images from Figma (my main design tool), the PNG compression that they use by default is not great. They give you two options pretty weak:
Exported from Figma using ‘Detailed’ - 214,951 bytes

Exported from Figma using ‘Basic’ - 208,587 bytes
Not great.
Historically, I’ve then manually imported the exported images into another application and re-exported them so that I can get them down another 50-60%. It’s a hassle and sometimes I skip it because the laundry list of to-dos is big and I’m short on time.
The truth is that unless I automate this, I’m going to end up always chasing my tail. So, let’s do that.
Automating image compression locally
I recently poked around some command-line tools for compression. There are a lot of options, but the best seem to be pngquant and jpegoptim. They are fairly cross-platform and free. Both big bonuses in my book.
I want to use CLI tools because they:
- Work across entire projects, not one file at a time
- Are easy to automate (CI, build scripts, pre-deploy steps)
- Produce consistent, repeatable results
- Are not GUI tools which means no manual exporting required
Compressed using pngquant - 59,449 bytes
Step 1: Install the Tools
macOS (Homebrew)
bash
brew install pngquant jpegoptim
Linux
Ubuntu / Debian:
bash
sudo apt update
sudo apt install pngquant jpegoptim
Fedora:
bash
sudo dnf install pngquant jpegoptim
Arch:
bash
sudo pacman -S pngquant jpegoptim
You can then verify installation with:
bash
pngquant --version
jpegoptim --version
Step 2: Compress PNGs
Single PNG file compression
bash
pngquant --quality=65-85 --force --ext .png image.png
Recursively compress all PNGs in a project
bash
find ./website-folder -type f -name "*.png" -exec pngquant --skip-if-larger --ext .png --quality=65-85 {} \;
This command recursively finds all PNG files, compresses them in place, preserves filenames, and applies a quality range suitable for most web UI and illustration assets. It will skip the file if larger, meaning that it won’t try to recompress files that it has already compressed.
Step 3: Compress JPGs
Single JPG file compression
bash
jpegoptim --strip-all --max=85 image.jpg
Recursively compress all JPGs in a project
bash
find ./website-folder \( -iname "*.jpg" -o -iname "*.jpeg" \) -type f -exec jpegoptim --strip-all --max=85 {} \;
--max=85 applies strong compression with minimal visual loss, while --strip-all removes EXIF and metadata. Files are overwritten in place.
Optional: Parallel Processing!
Parallel execution is especially useful on Linux servers and modern multi-core Macs.
bash
# PNGs
find ./website-folder -type f -name "*.png" -print0 \
| xargs -0 -P 4 pngquant --force --ext .png --quality=65-85

# JPGs
find ./website-folder \( -iname "*.jpg" -o -iname "*.jpeg" \) -type f -print0 \
| xargs -0 -P 4 jpegoptim --strip-all --max=85
Increase the -P value based on available CPU cores. These commands are safe for CI runners and build servers.
Optional: Skip Small Images
You can avoid processing files that won’t meaningfully benefit from compression.
bash
# PNGs larger than 50KB
find ./website-folder -type f -name "*.png" -size +50k \
-exec pngquant --force --ext .png --quality=65-85 {} \;

# JPGs larger than 50KB
find ./website-folder \( -iname "*.jpg" -o -iname "*.jpeg" \) -type f -size +50k \
-exec jpegoptim --strip-all --max=85 {} \;
Integrating Image Compression into CI/CD
Image compression works best when it is automated. By running optimization in your CI pipeline, you ensure that all images merged into your main branch are consistently compressed without relying on manual developer steps.
Basic CI Strategy
- Install image optimization tools in the CI environment
- Run compression as part of the build or pre-deploy step
- Fail or warn if unoptimized images are detected (optional)
Most Linux-based CI runners (GitHub Actions, GitLab CI, Bitbucket, Netlify) support pngquant and jpegoptim out of the box.
Example: GitHub Actions
yaml
name: Optimize Images

on:
pull_request:
push:
branches: [main]

jobs:
compress-images:
runs-on: ubuntu-latest

steps:
- name: Checkout repository
uses: actions/checkout@v4

- name: Install image tools
run: |
sudo apt update
sudo apt install -y pngquant jpegoptim

- name: Compress PNGs
run: |
find ./website-folder -type f -name "*.png" \
-exec pngquant --force --ext .png --quality=65-85 {} \;

- name: Compress JPGs
run: |
find ./website-folder \( -iname "*.jpg" -o -iname "*.jpeg" \) -type f \
-exec jpegoptim --strip-all --max=85 {} \;
This workflow ensures that all images committed to the repository are optimized before deployment.
CI Optimization Tips
- Run compression only on changed files to speed up builds
- Pair with version control so diffs clearly show size reductions
- Use parallel execution for large asset directories
- Consider failing the build if images exceed a size threshold
Once integrated into CI, image optimization becomes a default behavior rather than a manual cleanup step, leading to consistently faster builds and better performance in production. Who doesn’t want that, right?