Classic binary data entry meets modern Unicode: 149K characters at your fingertips. A physical user interface to enter any Unicode character over USB, with a glyph preview and codepoint details rendered on-demand by the Raspberry Pi Pico under the hood.
- Large glyph preview (including colour emoji support) on a 280 x 240 display
- Modes for entering codepoints, UTF-8 encoding, and hex literals
- Acts as a USB HID keyboard to enter OS-specific sequences for codepoints
- ~200 MB of TTF font files accessed from an SD card, indexed on start-up for fast search by codepoint
- Unicode block and codepoint names embedded in firmware, refined from text files on unicode.org
- Brushed aluminium front panel with crispy legends applied by toner-transfer
I started this build for Hackaday’s *[…
Classic binary data entry meets modern Unicode: 149K characters at your fingertips. A physical user interface to enter any Unicode character over USB, with a glyph preview and codepoint details rendered on-demand by the Raspberry Pi Pico under the hood.
- Large glyph preview (including colour emoji support) on a 280 x 240 display
- Modes for entering codepoints, UTF-8 encoding, and hex literals
- Acts as a USB HID keyboard to enter OS-specific sequences for codepoints
- ~200 MB of TTF font files accessed from an SD card, indexed on start-up for fast search by codepoint
- Unicode block and codepoint names embedded in firmware, refined from text files on unicode.org
- Brushed aluminium front panel with crispy legends applied by toner-transfer
I started this build for Hackaday’s Odd Inputs and Peculiar Peripherals contest in mid-2022 on a tight deadline with a careful plan....but at the deadline, ready to submit with a low-fidelity build based on pre-rendered glyphs, I decided to bail on the contest. The build looked good, but it wasn’t technically satisfying. It wasn’t done. Fast-forward a year after the deadline around my chaotic work schedule, and this is finally in a place where I’m happy to write it up.
A full write-up on the build is here.
Whether you’re selecting ASCII, Egyptian Hieroglyphs, or colour emoji, everything is rendered on device from true-type fonts. This is really stretching the legs of the Pico, and it was a challenge to pack it all in despite the impressive specs of the Pico in microcontroller terms.
If you want to play with the software, the code on GitHub can be built in “host” mode, which runs as an application on your computer using SDL2. This was done to allow quick iteration and debugging as the firmware image is large and takes a while to upload.
The initial build of this project is complete, but I’d still like to implement:
- Cycling through substitutions and ligatures from the GSUB table in a font. Many glyphs, particularly emoji, do not have a dedicated codepoint and are instead described as a sequence of other codepoints. Typically this would be handled with the layout library, Harfbuzz, but I had memory exhaustion issues doing basic tasks with that, so substitutions might need to be looked up manually.
- Drivers for Windows and Linux that allow directly injecting UTF-8 input (probably through the clipboard), rather than the slow and cumbersome approach of acting as a USB keyboard typing special key sequences. USB HID has no provision for sending Unicode, only keycodes which are mapped by the OS to the selected keyboard layout.
Notes and acknowledgements:
- User hsgw had a similar idea without a display for the same competition, which is also a nice build (and actually made it in for the deadline).
- The Pico C/C++ SDK is a dream to work with compared to other microcontroller vendor SDKs I’ve used. Kudos to the designers and developers!
- This project stands on the shoulders of open source works like FreeType, libpng,zlib, the Noto fonts project, and FatFS to name a few. Thank you to all of the maintainers and contributors who make these projects work. Building this toy project without your hard work would be an impossible undertaking.
manual-mock-up.pdf
Mocked up user manual for the device, ’80s techinical docs style.
Adobe Portable Document Format - 25.07 kB - 09/04/2023 at 23:35
unified-unicode-pico-schematic.pdf
Adobe Portable Document Format - 310.36 kB - 09/04/2023 at 22:54
loading-image-preview-hd.webm
Stored here for display in the project write-up.
Open Web Media Project - Video - 433.22 kB - 09/04/2023 at 22:54
july-2022-demo.webm
Stored here for display in the project write-up.
Open Web Media Project - Video - 1.57 MB - 09/04/2023 at 22:54
Initial build: let’s make something dumb, but pretty
Stephen Holdaway • 09/04/2023 at 23:00 • 0 comments

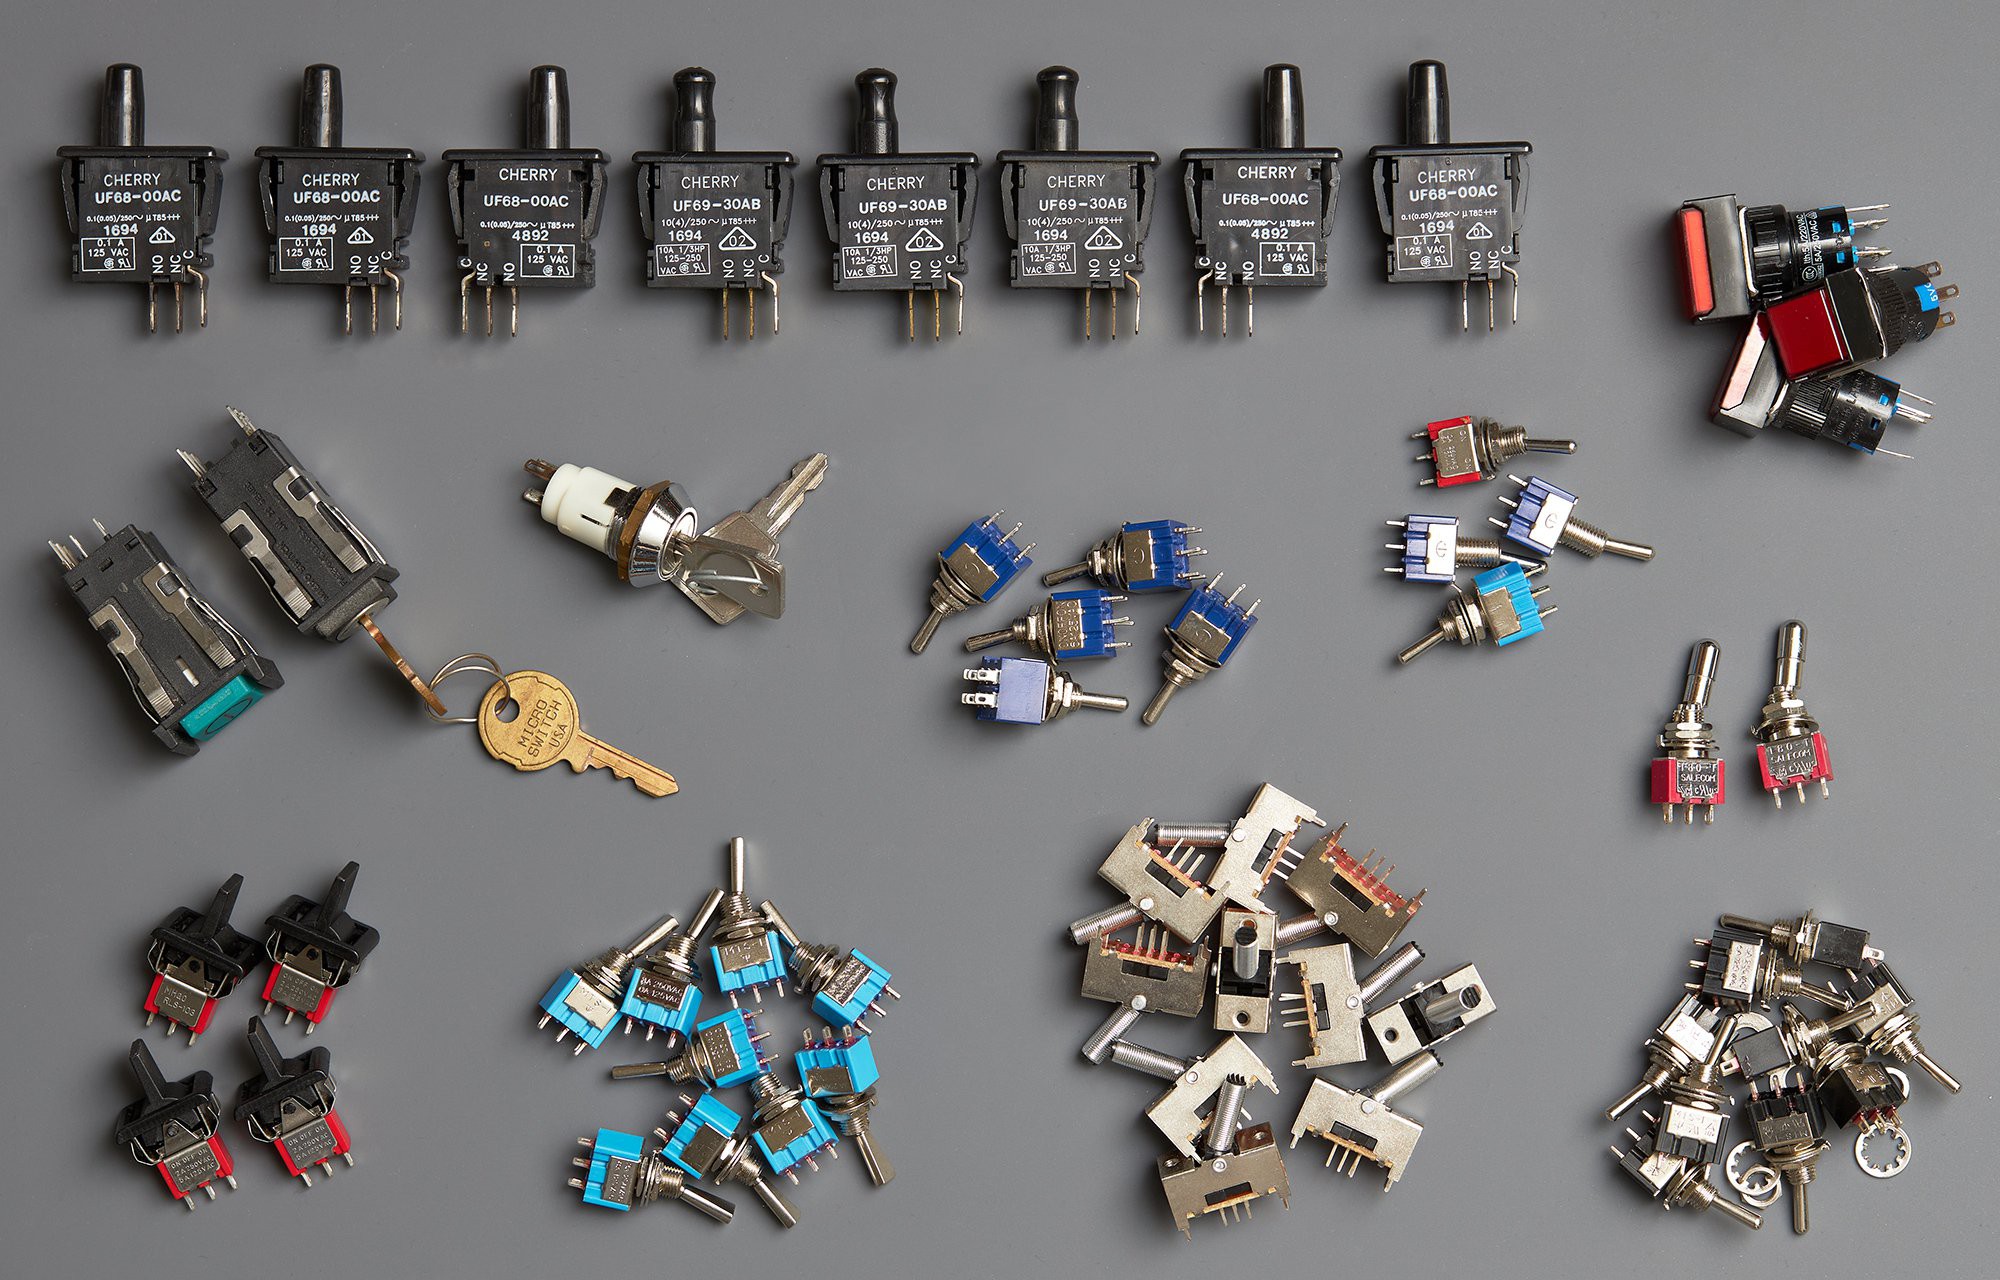
I’m a big fan of toggle switches and tactile human-machine interfaces: think swathes of switches on the control panel of an old mainframe, or the cockpit of an airliner. For years the vague idea of a binary data input panel has been kicking around my head, driving the occasional purchase of satisfying looking switches, but it never made it past the pragmatist that guards my ever-growing list of projects. Hackaday’s Odd Inputs and Peculiar Peripherals contest in mid 2022 gave the perfect excuse to make something beautiful and tactile, without necessarily needing it to be any semblance of practical.
The only hitch was that I discovered this contest just 26 days before the deadline, and I have a full time job (not to mention a tendency to pursue very ambitious ideas). The clock was ticking to design, develop and build.
Experience-first design
At the outset, the only loose idea I had was an 8-bit physical input device, ideally fitting onto a piece of 50mm flat bar and interfacing via USB. I believe the initial thought was about inputting hex literals, acting as a kind of programmer’s keyboard, but that rapidly turned into “why not allow sending any possible character?”.
Before diving into technical details, I sat down with a bank of imaginary air-switches and buttons (complete with sounds) to figure out what it should feel like to use this device and what it needed to do. Between day-dreaming and sketching in Inkscape, I went through numerous iterations on layout: more switches, multiple rows of LEDs to show the input buffer, different placement of key controls. Lots of stuff that didn’t feel right. I wish I’d captured some work in progress to show how much the idea grew during this stage - it certainly wasn’t a single spark.
Eventually I settled on:
- 8x bit toggles, each, with a status LED.
- A “shift” action to left-shift by one byte (the bit toggles always control the least significant byte)
- A “send” action to send the selected value to the host and clear the input buffer
- A “clear” action to clear the input buffer without sending anything
The thing that bugged me was how to show an in-progress input to a user in a meaningful way. Rows of LEDs would be hard to understand at a glance. A 7-segment display would be readable, but seeing a hex value isn’t very exciting. I’m not sure exactly when the idea to use an LCD screen with an actual preview arrived, but that was the moment the project shifted into its “all consuming drive to do the thing” phase.
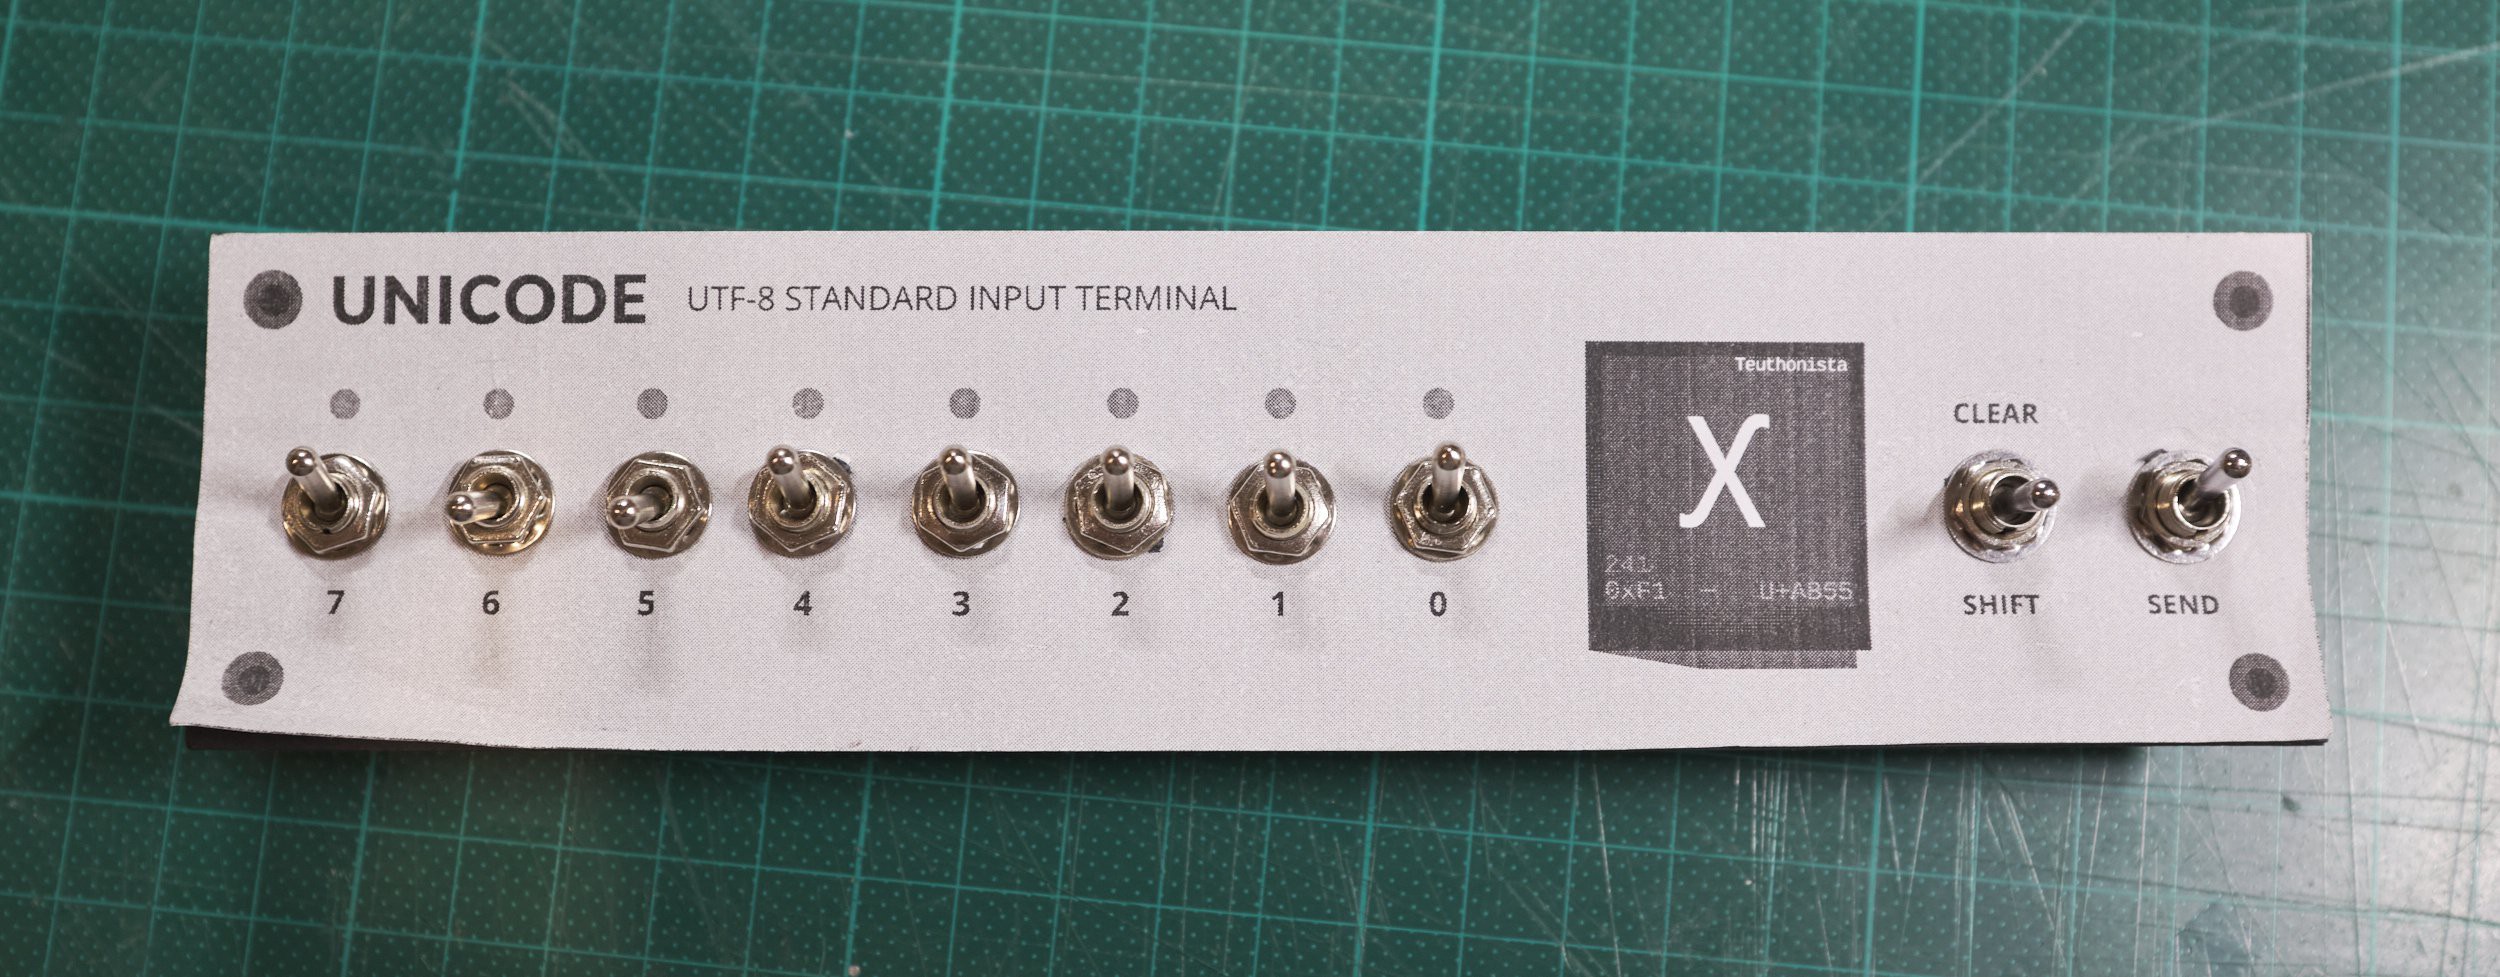
With the size and layout roughed out, I stuck a print-out on some cardboard and attached real switches to get a feel for the spacing and the ergonomics of actually using the device:

Visually I was going for “mainframe front panel”. It’s a happy coincidence that Unicode, the organisation and standard that defines what “any possible character” even means, is delightfully retro sounding. It’s something I could absolutely see emblazoned on a room-size computer from decades past.
This mock-up lived on my desk for a few days and got plenty of thought-provoking twiddling, thinking through how different interactions could work. This resulted in a little more refinement:
- Added the concept of “shift lock” to keep shifted bytes across sends, toggled with a long-press of “shift”
- Added a “mode” action to change between different input/display modes
- Moved “clear” to a secondary action that requires a long press
With these changes and some extra labelling, the sketch of what I wanted to build was this:
 An SVG version of this is available in the Github repository.
The contents of the screen were rough at this stage, with little thought for resolution and software modes, but I was happy with the layout and needed to start the physical build.
Building the face-plate
This Hackaday competition happened to align with a weekend where I would have access to my Dad’s drill press. Building this with hand tools should be possible given enough patience, but my attempt at doing...
Enjoy this project?
Share
Discussions
Become a Hackaday.io Member
Create an account to leave a comment. Already have an account? Log In.
Stephen Holdaway wrote 09/10/2023 at 06:32
It’s especially satisfying to throw multiple switches at once! I don’t have a part number for these, but miniature toggles seem to all be quite similar. I’d love to find some premium switches in this size though - something with a high current rating might increase the kerchunk factor