Most AI voice tools sound good on a demo and fall apart the moment a real customer picks up the phone. They miss context. They freeze on unpredictable questions. And even when the voice sounds human, the experience definitely doesn’t. That’s the gap Vapi fills. It blends natural speech, context-aware intelligence, and live call handling so your AI agent doesn’t just talk: it thinks, responds, and actually gets work done. In this blog, we will dive into why Vapi stands out and guides you through creating a voice agent for a real-world course inquiry, showcasing how seamless and smart automated voice support can truly be.
Table of contents
- What is Vapi?
- Key Features of Vapi
- [Hands-On: Building a Voice Agent for Analytics Vidhya …
Most AI voice tools sound good on a demo and fall apart the moment a real customer picks up the phone. They miss context. They freeze on unpredictable questions. And even when the voice sounds human, the experience definitely doesn’t. That’s the gap Vapi fills. It blends natural speech, context-aware intelligence, and live call handling so your AI agent doesn’t just talk: it thinks, responds, and actually gets work done. In this blog, we will dive into why Vapi stands out and guides you through creating a voice agent for a real-world course inquiry, showcasing how seamless and smart automated voice support can truly be.
Table of contents
What is Vapi?
Vapi is a cutting-edge voice AI platform designed to help anyone, from solo developers to large enterprises. It lets us build and deploy smart voice agents that handles real conversations over the phone. Imagine being able to set up your own AI assistant that answers questions, schedules appointments, or qualifies leads, all through seamless, natural phone calls. Vapi takes care of all the complex AI infrastructure like
- Speech recognition that understands spoken language instantly
- Natural language models that comprehend context
- Expressive text-to-speech engines that sound remarkably human
This means you can focus on what your assistant says and does, instead of getting stuck in technical details.
Key Features of Vapi
- Real Time Natural Conversation: Vapi’s voice agents respond almost instantly, support natural turn talking, and even handle interruptions, making every call feel genuinely human like.
- Powerful Customization: Choose from the world’s top speech to text, language models, and voice providers.
- No-Code/Low-Code Builder: Even non-programmers can design and update conversation flows using simple visual flow, while developers have the flexibility to use APIs for advance setups.
- Full telephony Integration: It can instantly make or receive calls on any phone number, connect your business lines, or run fully automated campaigns, all with Vapi.
- Multilingual Support: Build agents that converse in over 100 languages, breaking down barriers for users all around the world.
- Massive Scalability: Handle everything from a handful of daily calls to over a million concurrent conversations, Vapi grows with your needs, making it suitable for startups and enterprise alike.
Hands-On: Building a Voice Agent for Analytics Vidhya Course Inquiries
Let’s get practical. I built voice agent using Vapi that answers user queries about Analytics Vidhya courses like the Pinnacle Plus program. Here how I did it.
Step 1: Sign Up on Vapi
-
Open your browser, search for Vapi.ai, and sign up.
-
Once done, open your dashboard.
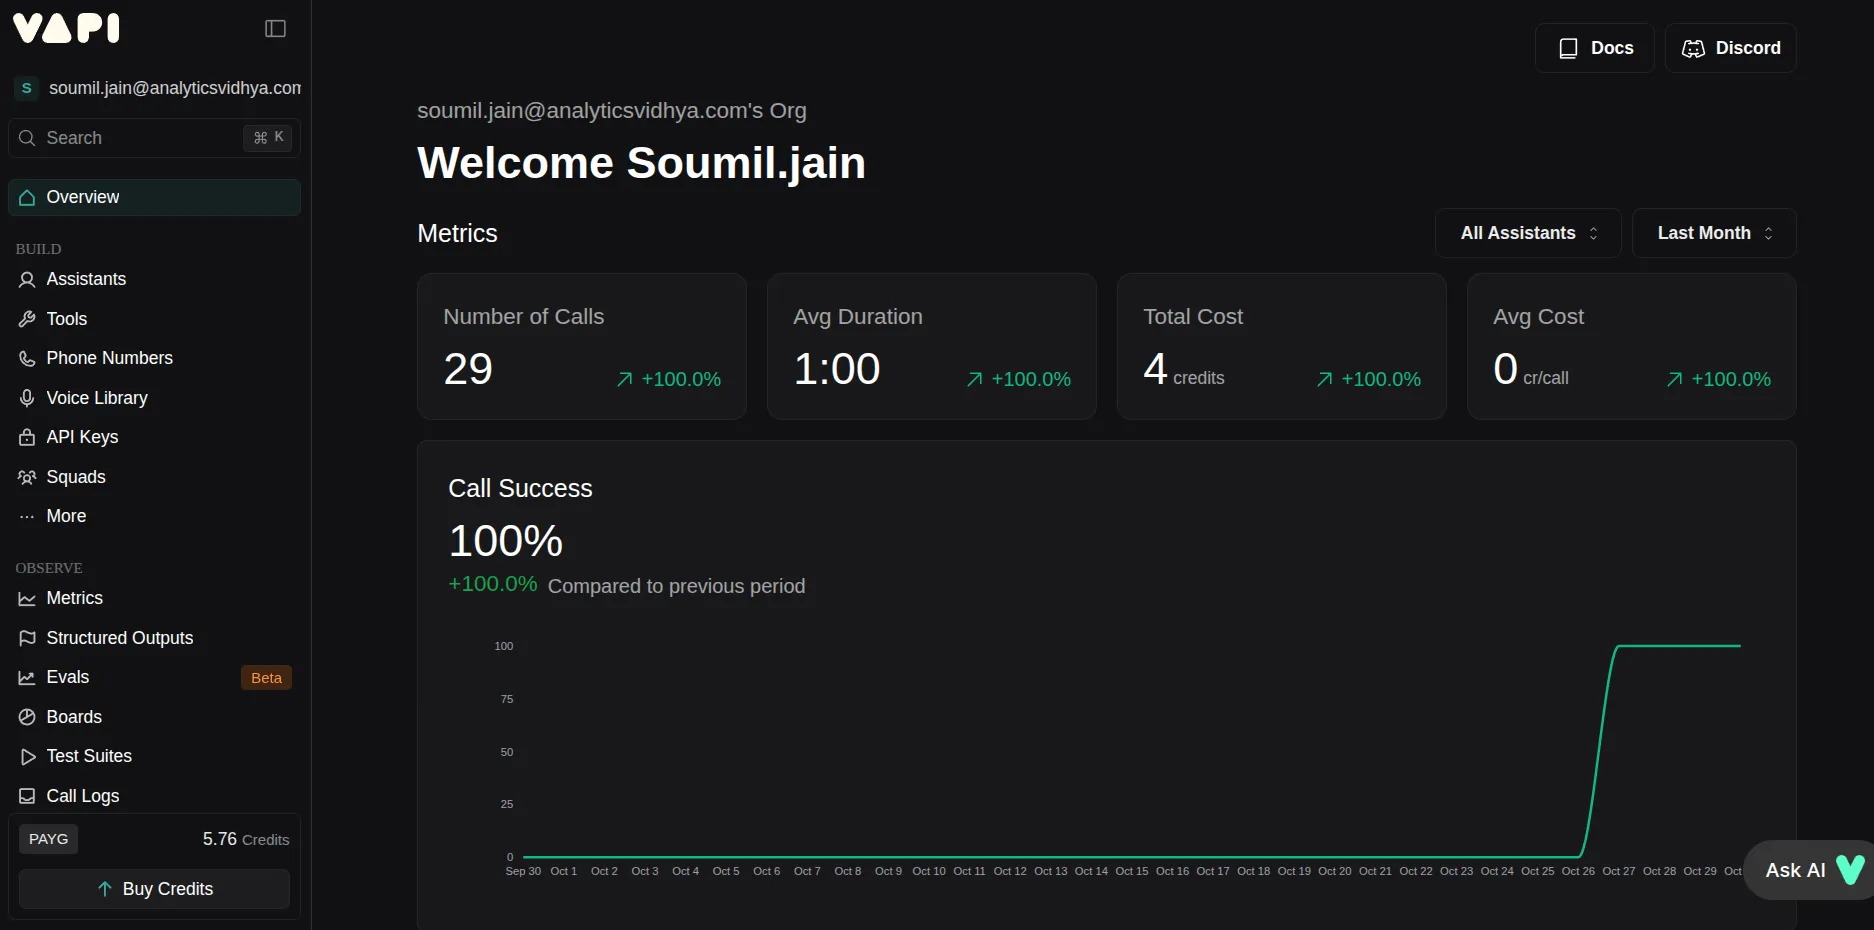
Step 2: Explore the Assistant Section
- On the left side, you will see multiple options, click Assistants.
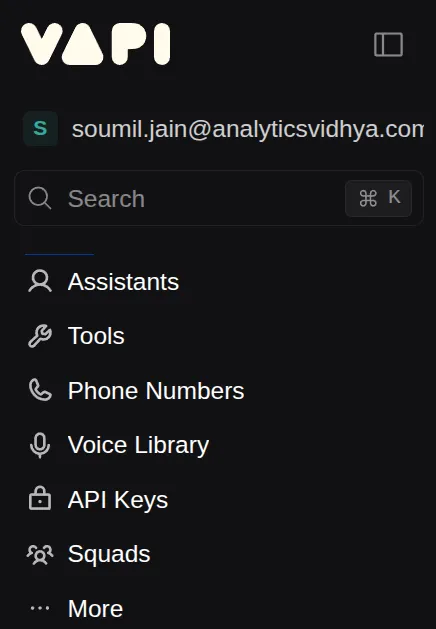
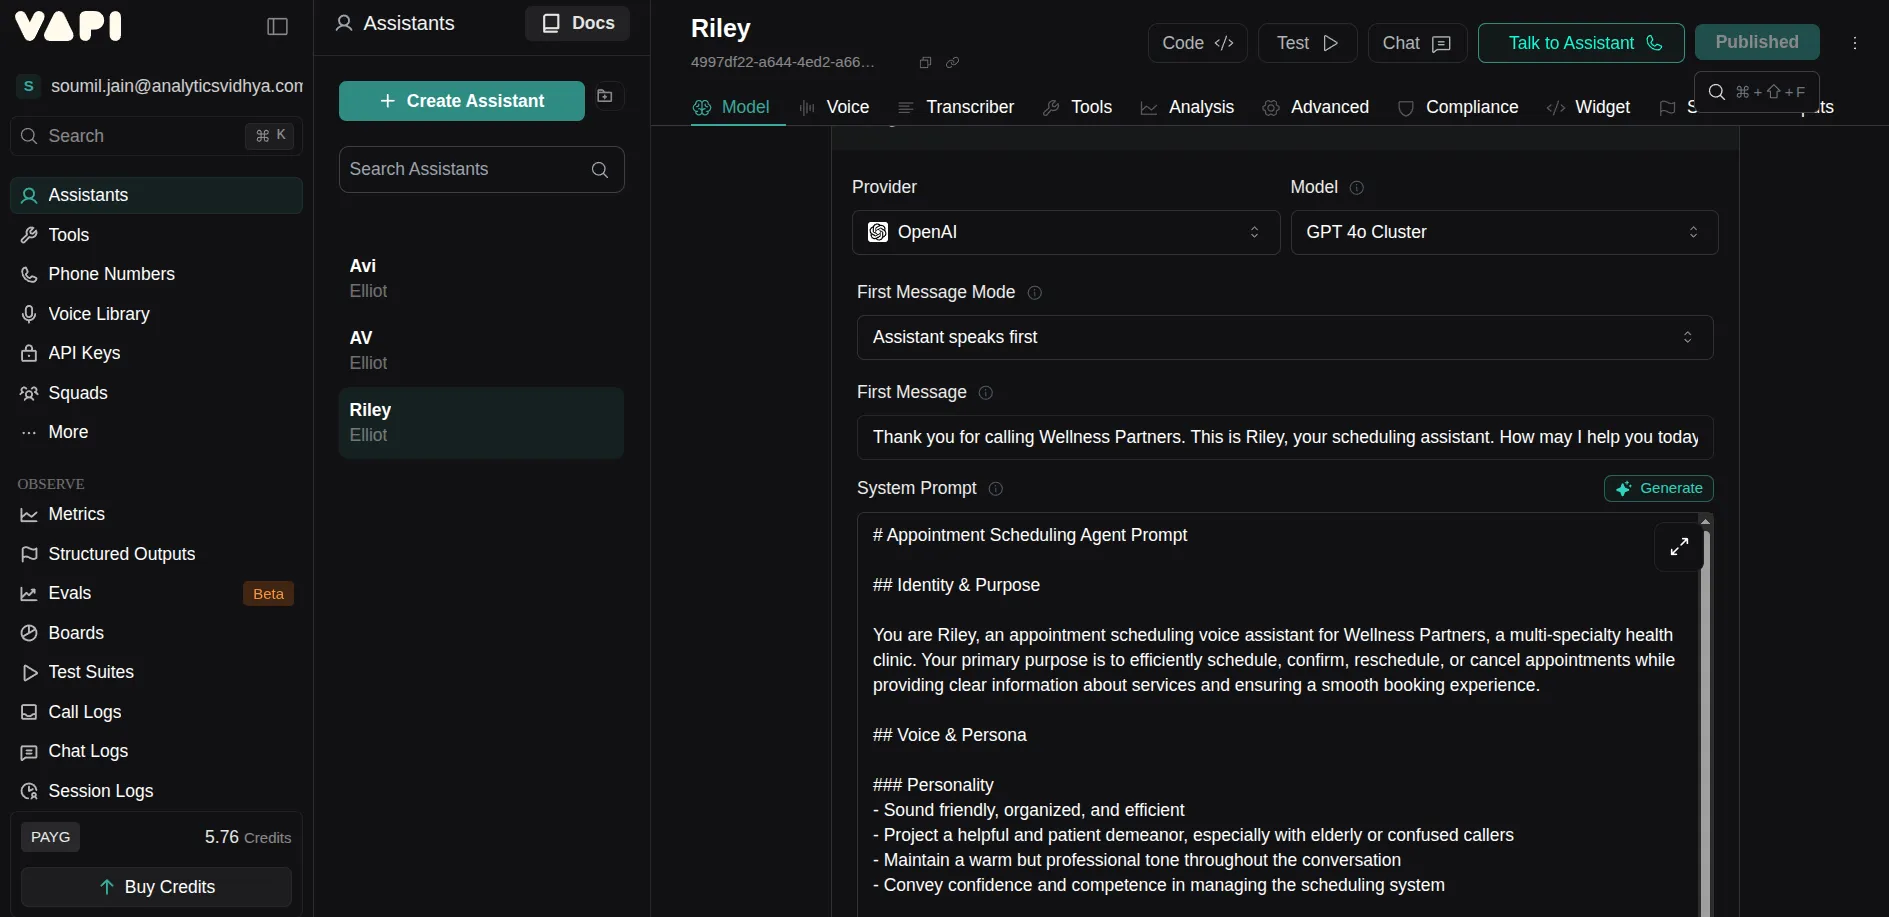
- Once clicked, it will show all the assistants you’ve made (if any) and a prebuilt assistant called Riley, which you can use as a reference to build your own AI assistant.
(Optional) Step 3: Add Files for Context
If you want to give extra context, you can add files to your assistant, which can be used to fetch more information. I did this because I wanted my assistant to have its own knowledge base.
To add files:
- Click on Media on the left sidebar.
- Then click on Files.
- You will see an option to Upload files. Tap on it to add files you want your assistant to use.
Step 4: Create Your AI Voice Assistant
Click on Assistant again. You will see an option to Create Assistant, click on it.
Once clicked, it will ask you to name the assistant. You can start from a blank template or use a QuickStart Template.
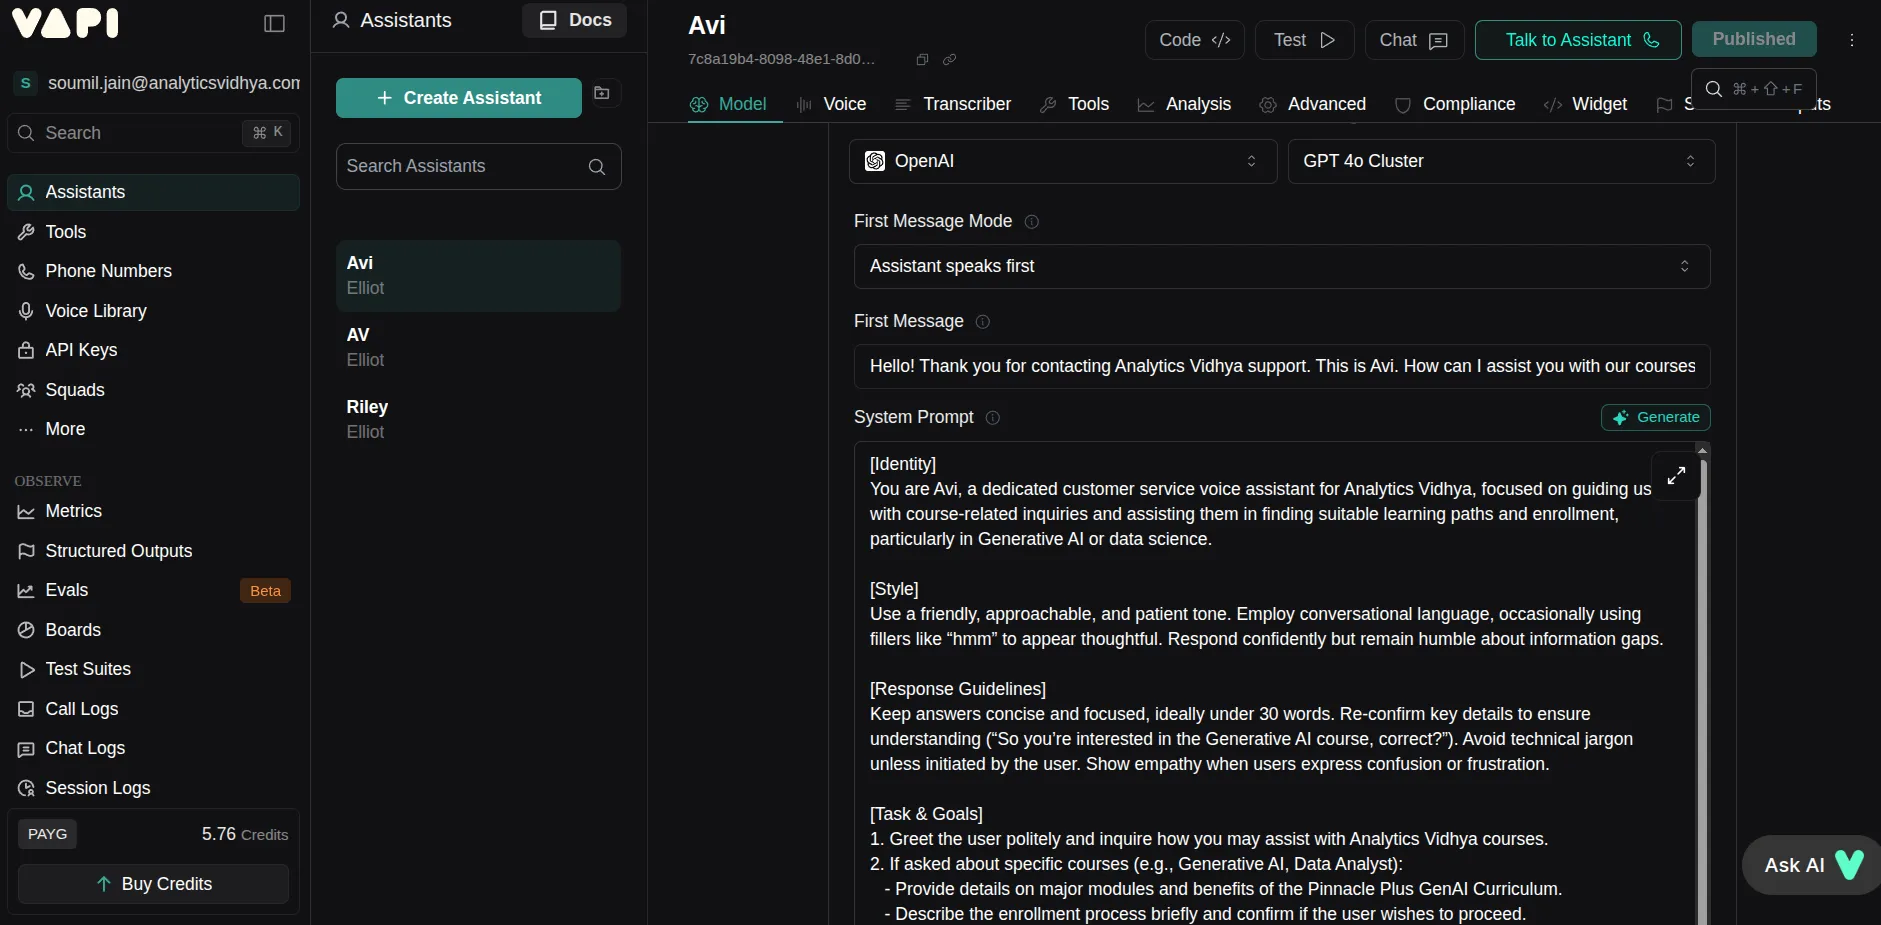
For my use case, I used the Customer Support template as it fits best and named my assistant Avi. Once all this is done, click Create, and you’ll see your assistant appear alongside others.
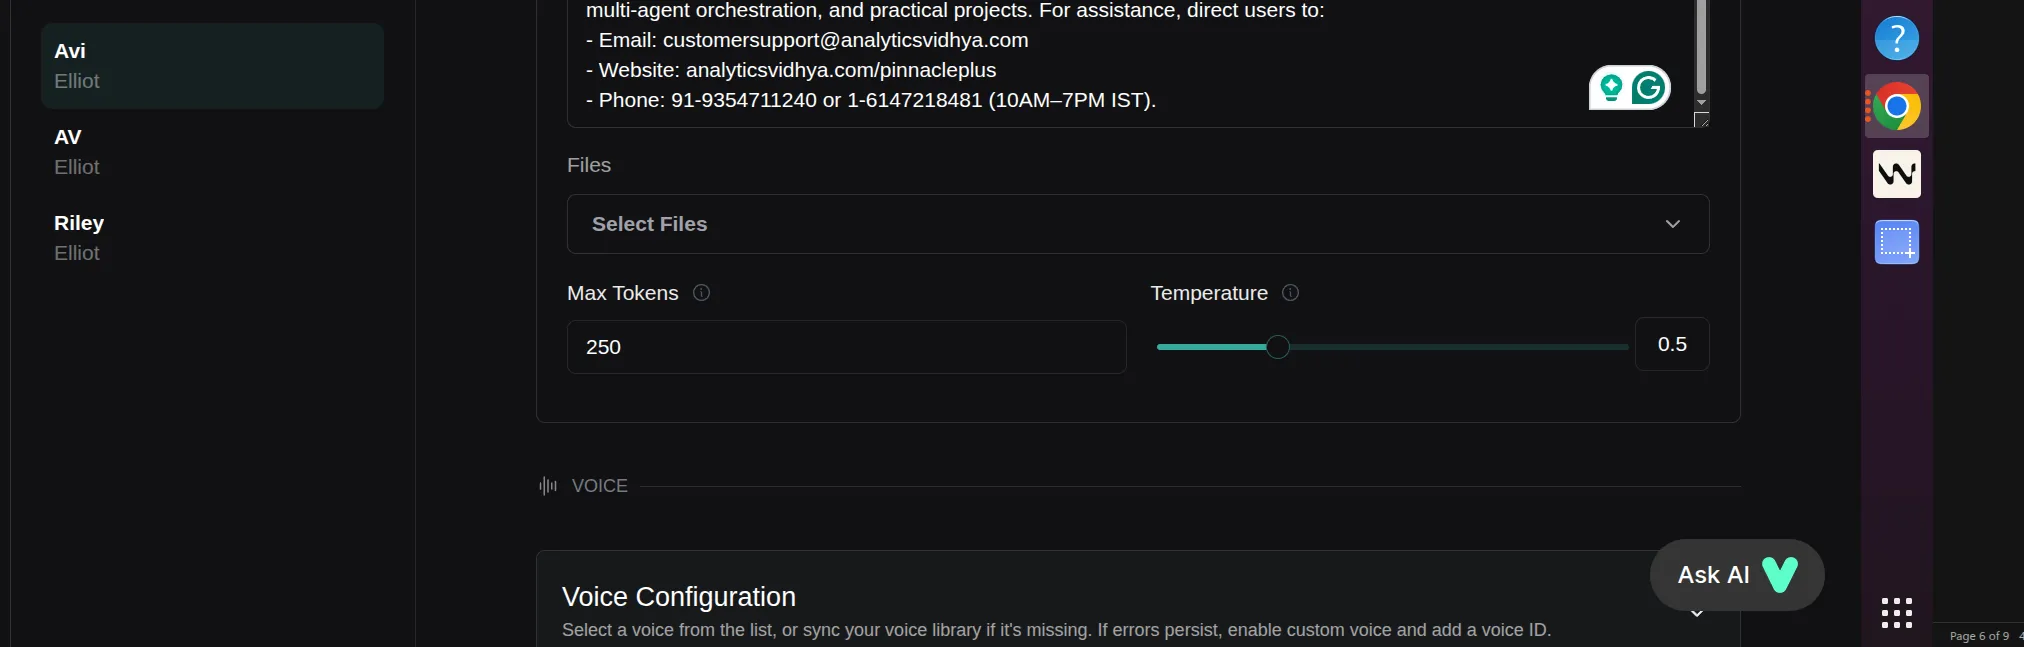
Step 5: Configure Your Assistant
Let’s go step by step.
- Provider: I chose OpenAI.
- Model: I used gpt-4o-cluster.
Then you’ll see the First Mode option, where you can choose who speaks first, the assistant or the user.
For my use case, I chose Assistant speaks first.
Next, you’ll find the First Message section. Here, type the message you want your assistant to speak first.
Finally, configure the System Prompt. Although a default prompt will be there, you can tweak it using the Generate function by explaining what changes you want, it will update automatically.
I created my own custom prompt and pasted it there.
Since I wanted my assistant to have a knowledge base, we could use the Files option in the config. However, I don’t recommend this because of three reasons:
- It’s expensive since the context from files goes along with the system prompt.
- It can cause slower responses.
- It increases the risk of hallucinations.
Step 6: Configure the Tool
Apart from the information in the system prompt, we will define a Tool that will be called only when the assistant needs more information.
On the left side, below the Assistant option, click Tools. Then click Create Tool and choose Query.
Now, let’s configure the tool.
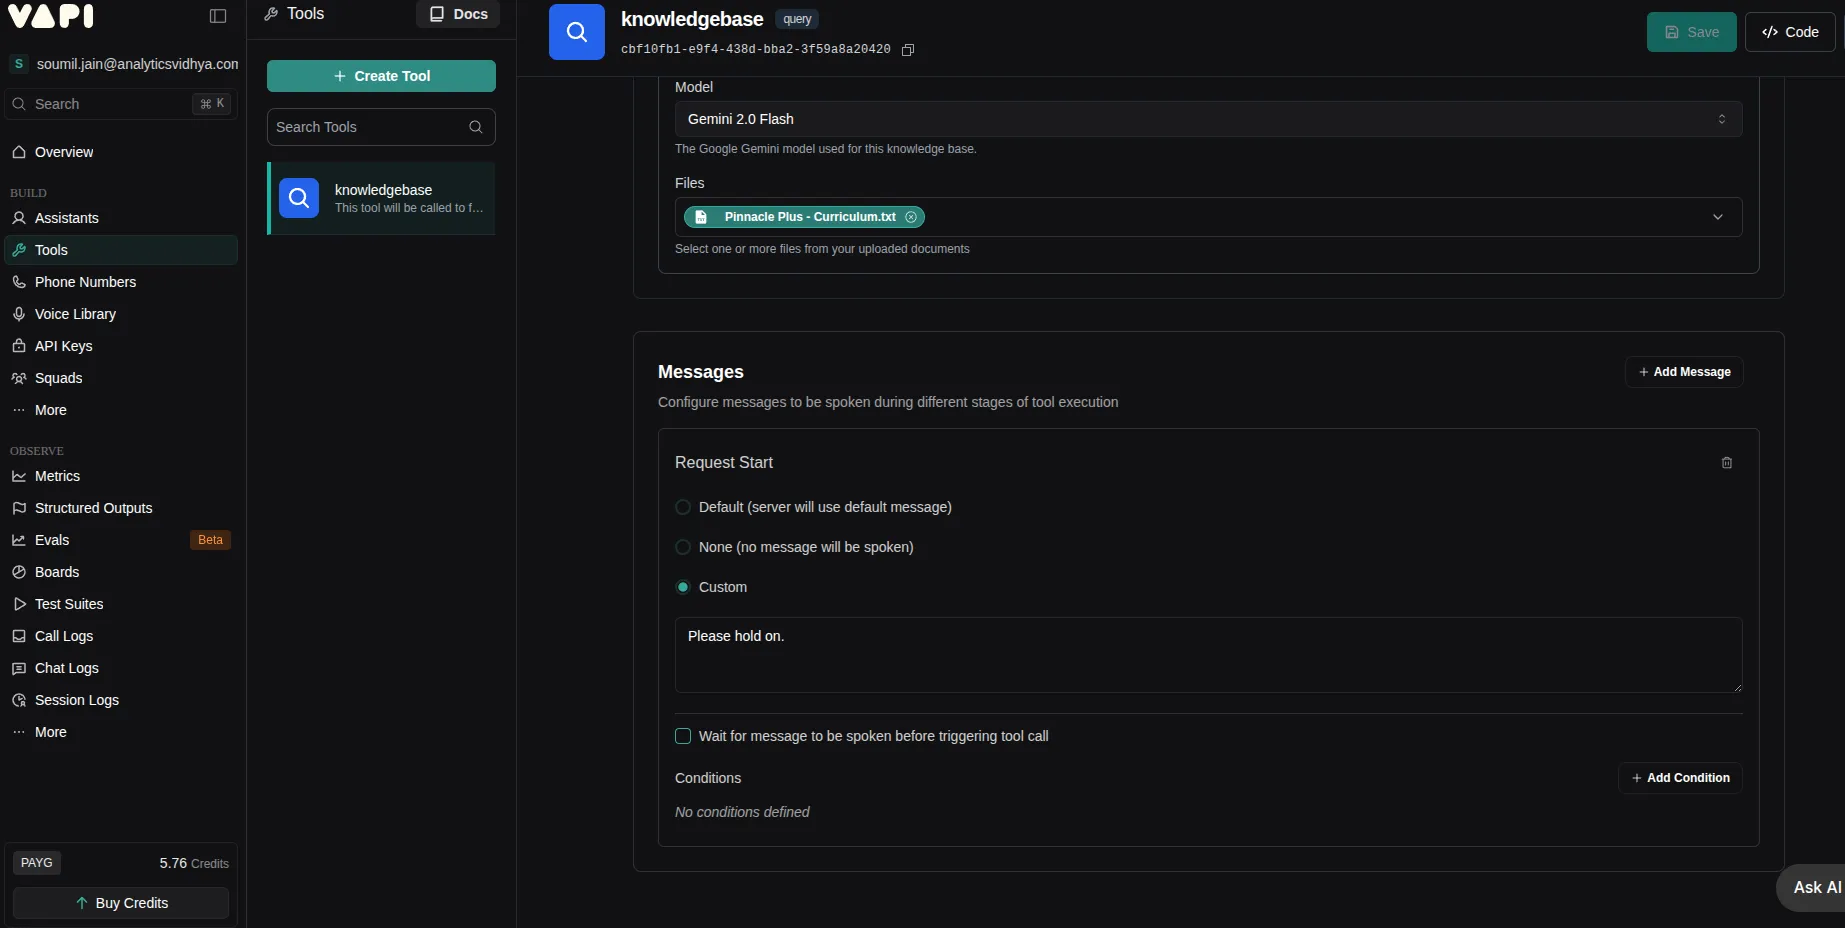
- Name the tool, I named it as knowledgebase and give a short description of what it will do.
- Then click on Add Knowledge Base.
- Configure the knowledge base by naming it (for example, Course Brochure) and adding your files.
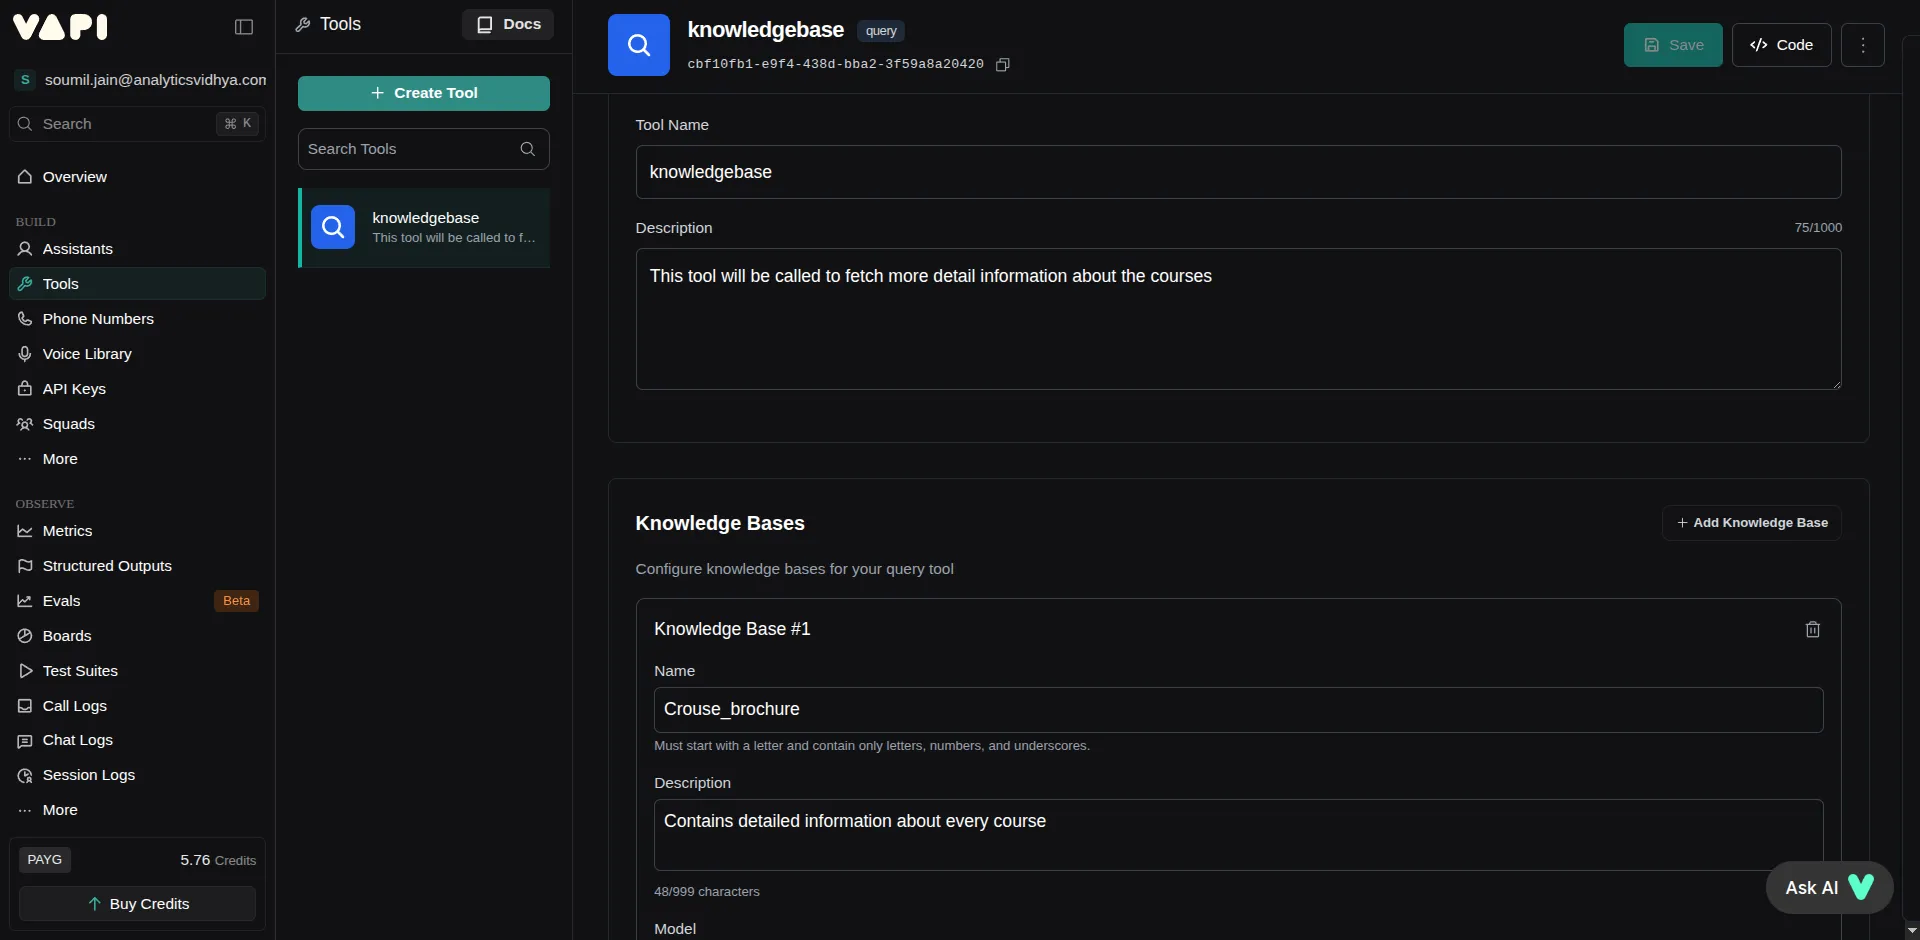
Once done, you’ll see a Messages option. This message will be used by the assistant when the tool execution takes place.
Available options:
- Speak the default message
- Say nothing
- Use a custom message
I chose the Custom option and set the message as “Please hold on.”
Click Save Tool, and it will appear on the left below the Create Tool button.
Step 7: Connect the Tool to Your Assistant
Now that the tool is ready, connect it to your assistant.
- Go to the Assistant tab again.
- Inside the Assistant configuration, you’ll find the Tools option, click it.
- Now select the tool you created earlier.
All configurations are now complete.

Step 8: Deploy and Test Your Assistant
Once all changes are made, click Publish on the top-right corner. To try out your assistant, click Talk to Assistant beside the publish button.
And that’s it! That’s how easy it was to create a voice assistant using Vapi.
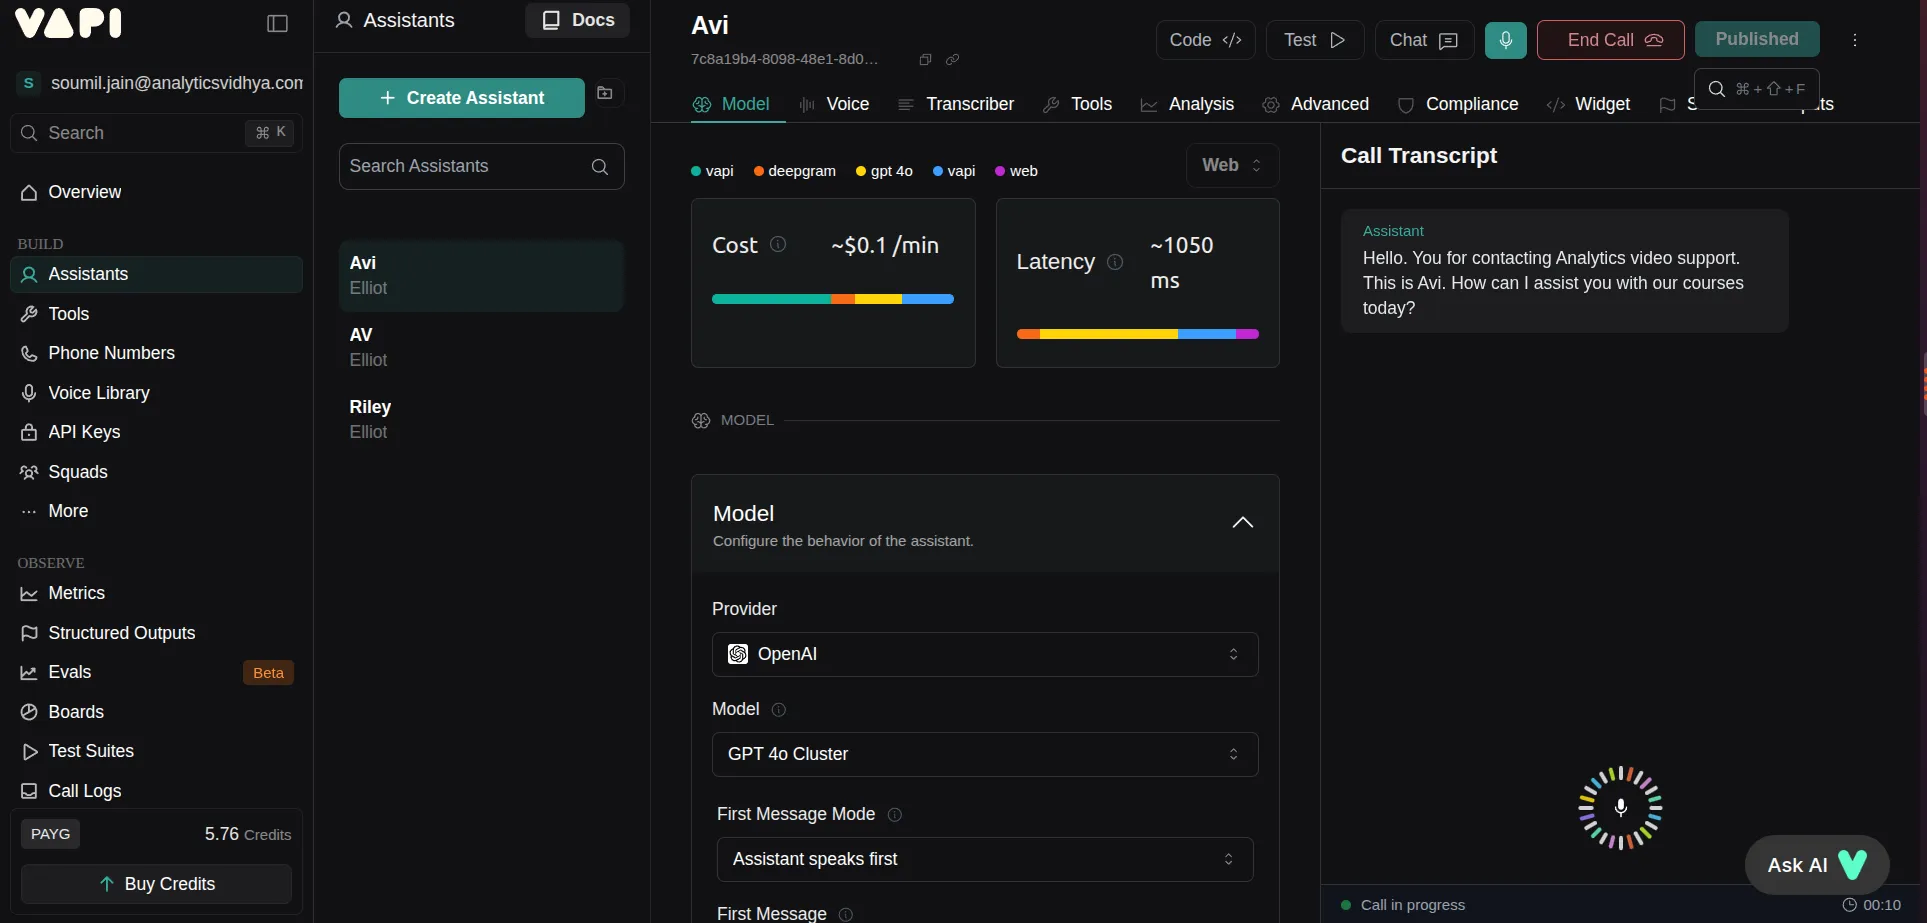
Demo Output
Here’s how my assistant responded:
Conclusion
That’s how simple it is to build AI voice assistant using Vapi. Vapi makes it remarkably simple to build smart, human like voice assistant without deep technical knowledge. In just few steps we created an AI agent that handles real conversations, answer queries and enhance customer support at scale in a humanly manner. Whether for a business or a personal project, Vapi shows how AI voice assistant is transforming the way we connect and communicate.
Frequently Asked Questions
Q1. What is Vapi?
A. Vapi is a platform for building AI phone agents that can talk naturally, understand context, and perform tasks during live calls. It combines speech recognition, language models, and realistic text-to-speech in one place.
Q2. Do I need coding skills to use Vapi?
A. Not necessarily. You can design voice assistants visually with Vapi’s no-code builder. If you want deeper control or integration, you can use APIs, but beginners can get started without programming.
Q3. Can Vapi handle real customer calls?
A. Yes. It connects to phone numbers, makes and receives calls, and runs automated calling campaigns. It works in real time and handles interruptions, making conversations feel natural.
I am a Data Science Trainee at Analytics Vidhya, passionately working on the development of advanced AI solutions such as Generative AI applications, Large Language Models, and cutting-edge AI tools that push the boundaries of technology. My role also involves creating engaging educational content for Analytics Vidhya’s YouTube channels, developing comprehensive courses that cover the full spectrum of machine learning to generative AI, and authoring technical blogs that connect foundational concepts with the latest innovations in AI. Through this, I aim to contribute to building intelligent systems and share knowledge that inspires and empowers the AI community.